The best telescope for your first night under the stars is the one you already own: your eyes. Everything else — binoculars, an app, a red torch cobbled together from a bike light — is a minor upgrade on that. If you have never deliberately looked up, the trick is to stop trying to see everything at once. Pick one patch of sky, give your eyes half an hour to adjust, and let it come to you.
Start with your eyes, not your wallet
Dark adaptation is the whole game at the beginning. Your eyes take roughly twenty minutes to reach their best sensitivity, and the first five minutes make the biggest difference. A glance at a phone screen — even on its dimmest setting — can undo much of that, as can a security light or a neighbour's kitchen window.
You will also see more if you look slightly to the side of a faint object rather than straight at it. This is averted vision: the outer part of your retina is more sensitive to dim light than the centre. It feels odd for the first few nights, then becomes automatic.
Sit down, or lean against something solid. Standing with your head tipped back gets uncomfortable within minutes, and cold, aching legs end more sessions than clouds do. Binoculars are the sensible first purchase, long before any telescope; something like 7x50 or 10x50 gathers plenty of light and is easy to hold. Brace your elbows on a wall or fence and the view settles immediately.
Learn to use a red torch
White light destroys dark adaptation. Red light barely touches it, which is why astronomers wander about with dim red lamps that look faintly ridiculous and work extremely well. You do not need to buy anything special: wrap two layers of red cellophane over a small torch and hold it on with an elastic band, or use a rear bike light on its lowest setting. Keep the beam pointed at the ground.
- Turn off outdoor lights before you go out, not after.
- Put the phone away once you are outside.
- Keep one red torch and one white torch, so you are never tempted to use the bright one.
- Give your eyes time at the start of every session. Rushing never works.
Check the sky before you commit
Two things decide whether a night is worth it: cloud and the Moon. For cloud, look at a forecast showing the trend over several hours rather than a single snapshot, and check satellite imagery if you want to know whether a clear spell is heading your way. Wind matters more than beginners expect — anything brisk will shake binoculars and make the night feel twice as cold as it is.
The Moon is not an obstacle, it is a target. Around full Moon the sky is washed out and faint stars vanish; around new Moon it is at its darkest. Either way, the Moon itself is the most rewarding object in the sky for a beginner, and bright enough to observe from a lit street.
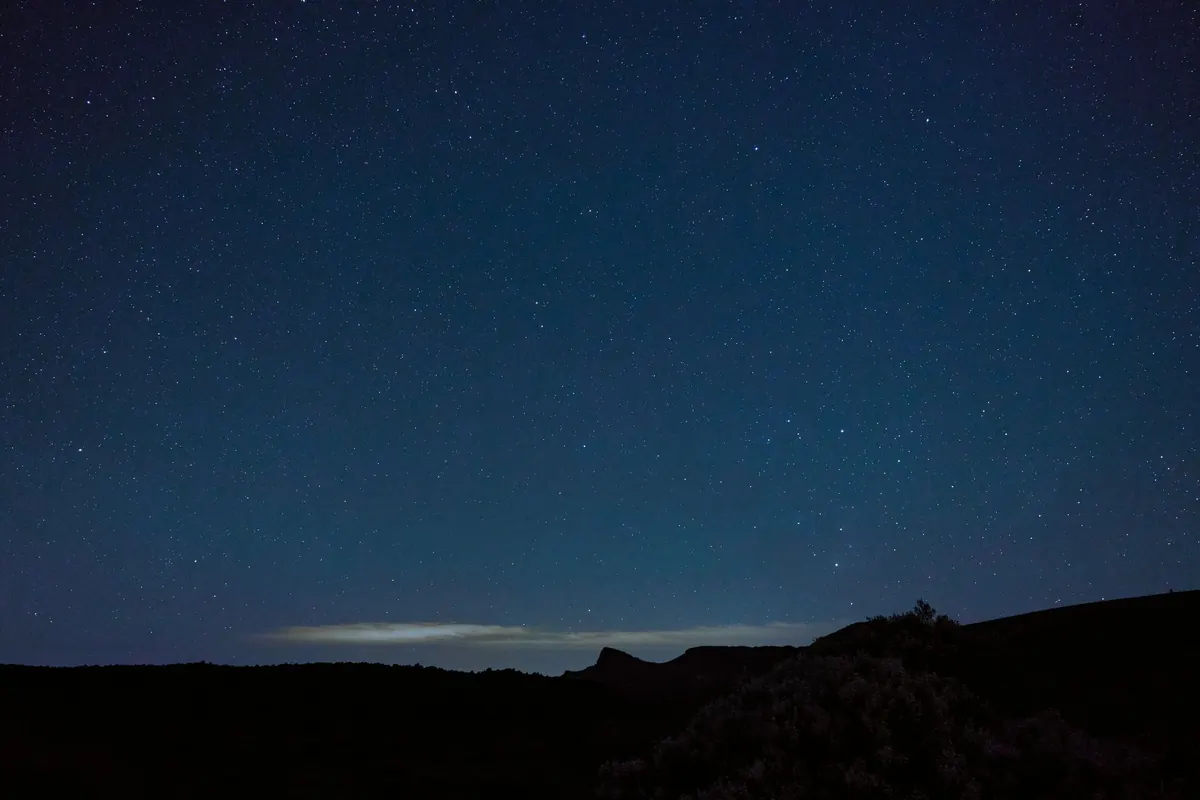
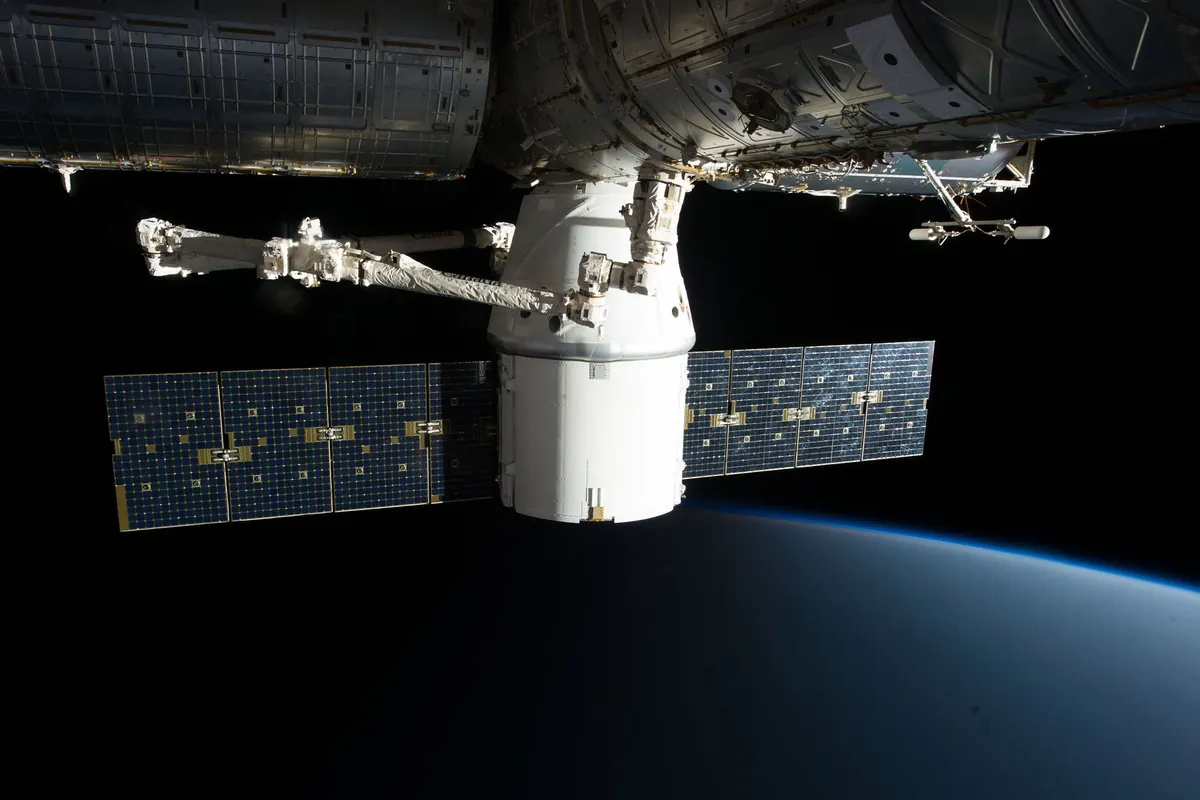
You also do not need a dark sky site to start. Orion's stars, the Plough, Jupiter and bright passes of the International Space Station are all visible from towns and cities. Save the trips to proper dark sites for the things that genuinely need them.
Five targets to find on your first clear night
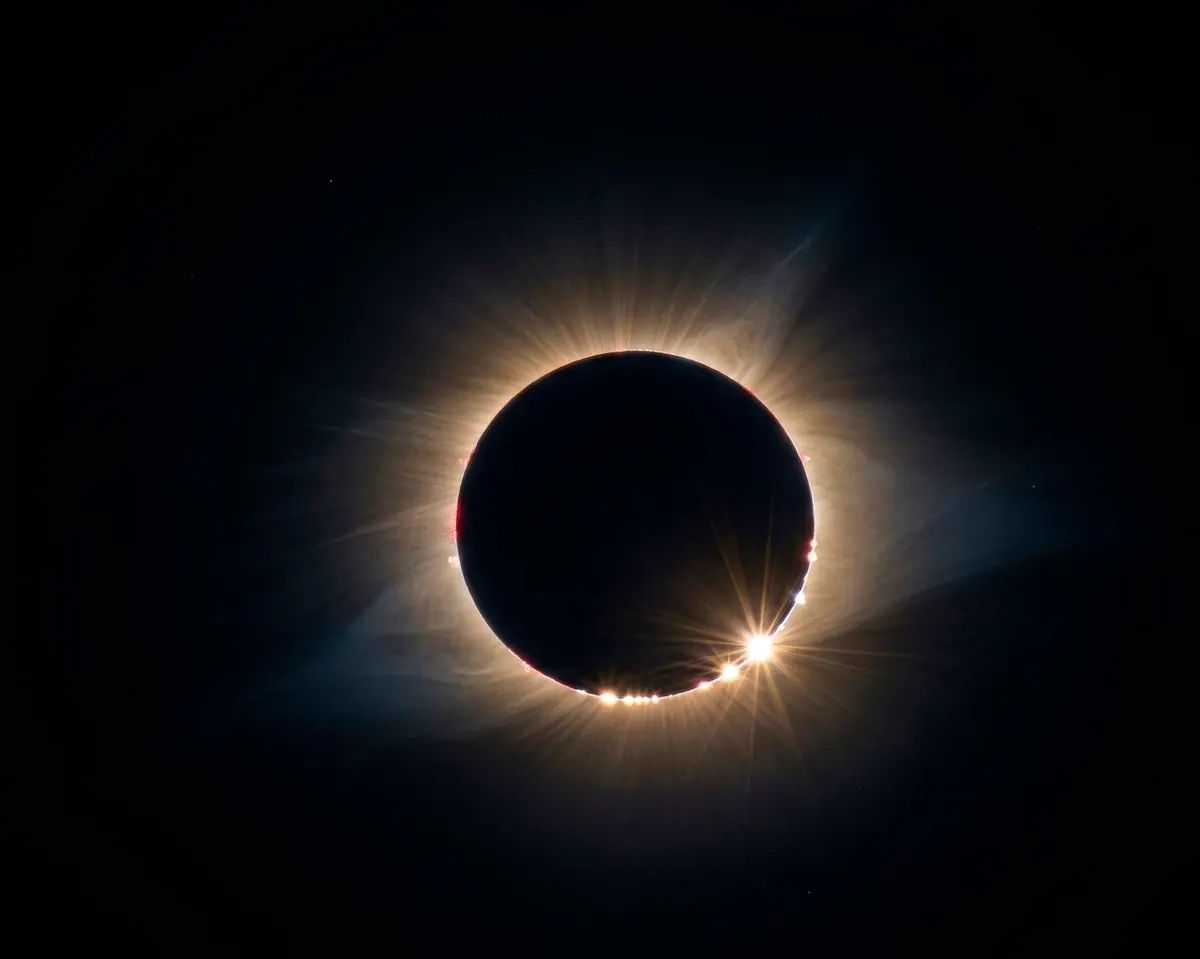
- The Moon. Look along the line where light meets shadow and you will see craters and mountain ridges in sharp relief. Never point binoculars or a telescope at the Sun, at any time, even briefly.
- Orion. The easiest constellation to learn: three bright stars in a line make the Belt, with orange Betelgeuse above one shoulder and blue-white Rigel below the opposite knee. Below the Belt hangs the Sword, and in it the Orion Nebula — a soft grey patch through binoculars.
- The Pleiades, or Seven Sisters. A tight knot of stars in Taurus, above and to the right of Orion on winter evenings. Most people see six or seven with the naked eye; binoculars reveal dozens.
- The Plough and Polaris. Find the two stars at the end of the Plough's bowl and follow the line they point along upwards. That is Polaris — useful, but not especially bright, despite its reputation.
- Jupiter. A brilliant, steady point of light that barely twinkles. Rest binoculars against a wall and you may see up to four of its moons strung out in a line, shifting position from night to night.
Where to stand, and what to take
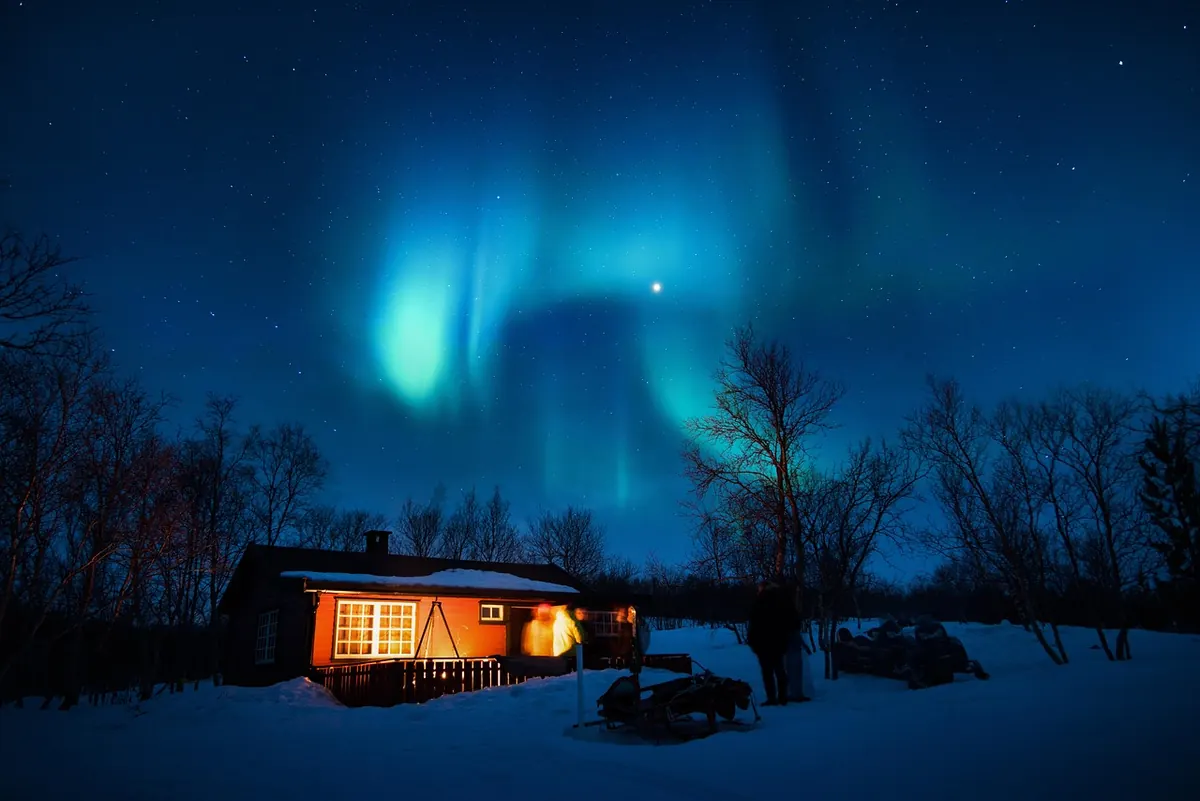
A back garden is a perfectly good observatory for the first year. If you want more sky, a local park, a quiet field or the edge of a village all work. For genuine darkness, the UK has several protected dark sky areas, including Kielder Forest, Galloway Forest Park, Exmoor, Eryri and the South Downs.
Wherever you go, tell someone where you are and when you expect to be back, and avoid remote unlit places on your own. Park considerately, and never block a gate or farm entrance. The kit list is short and mostly about staying warm:
- Several layers, a hat and gloves — even in summer, a clear night gets cold.
- A flask of something hot.
- A chair or stool, and something to rest binoculars on.
- A red torch, plus a star chart or a planetarium app.
- Binoculars, if you have them. A telescope can wait.
Keep a few notes, and go out often
Write down the date, roughly where you were, and what you saw. Three lines is enough. After a year you will have a record of your own sky, and you will notice how the constellations shift with the seasons without anyone having to explain it.
Learn one constellation a month rather than ten in a week. Check what is up before you go out, then put the phone away and look. And do not wait for a perfect night: a hazy evening with one clear patch of sky still counts, and the habit of stepping outside is what turns stargazing from an idea into something you actually do.
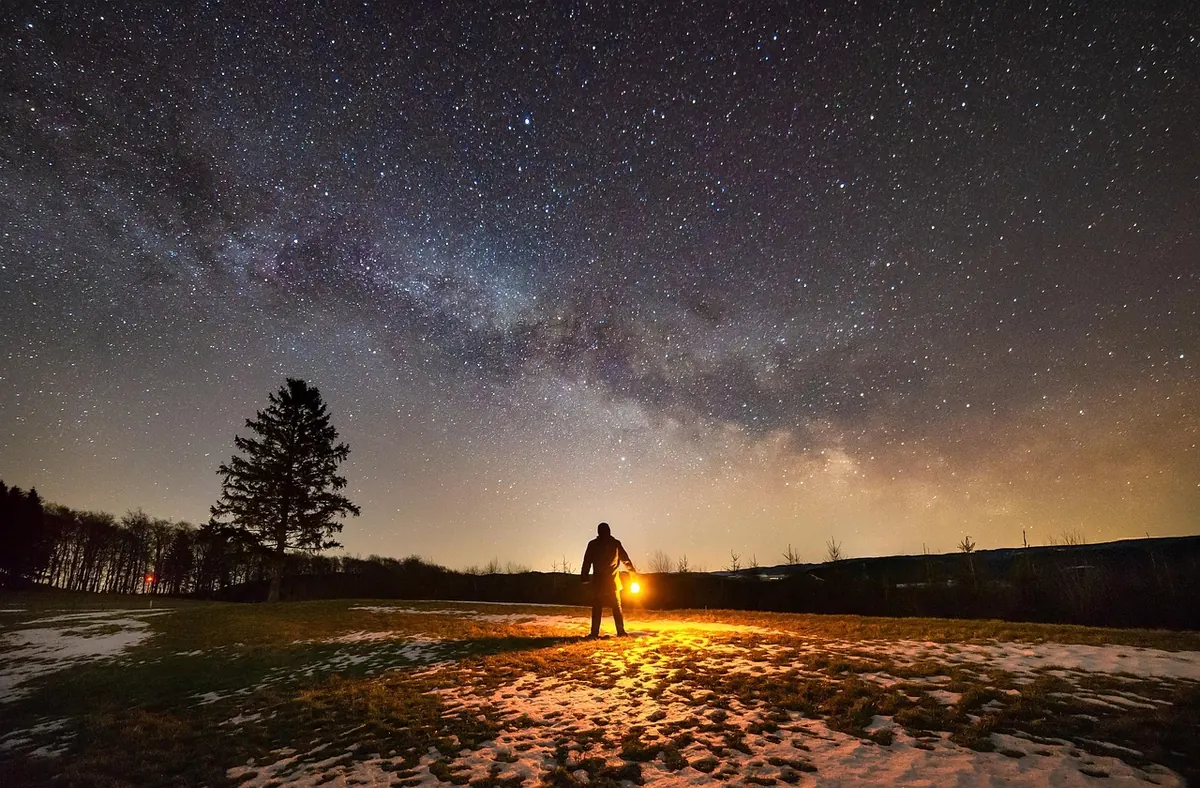
Photo: EvgeniT / Pixabay